
Pakrohk-DotFiles/NvPak
 github
 103
103
 7
7
 4
4
 9
9
![]()
![]()
![]()

What is the purpose of the NvPak project? ✨
Maybe you have tried to configure Neovim multiple times over the past few years. Neovim has undergone many changes, and every time, you had to follow new defaults to reach the minimum configuration and start writing your configuration for Neovim. The goal of the nvpak project is to provide these defaults.
Now you can configure only what you need by forking nvpak without any add-ons. Please note that nvpak is not a Neovim configuration and not in competition with other configurations such as NvChad or LazyVim. If you need a complete Neovim setup without any configuration, then this GitHub repository is not for you.
Why is the name of the project NvPak? 🌟
"nv" stands for Neovim and "Pak" is derived from the Persian word "پاک" meaning "clean," which represents brightness and simplicity, contrary to complexity and disorder.
Requirements 📋
To ensure the installation scripts and NvPak work correctly, please have the following:
- Operating System:
- Linux (most distributions)
- macOS
- Windows 10/11 (with PowerShell 5.1+)
- Android (via Termux)
- Core Tools (the scripts will attempt to install these if missing):
gitcurlunzipneovim v0.8.0or later (the script aims for the latest stable version)
- Shell:
bashordashfor Unix-like systems (Linux, macOS, Termux, Git Bash on Windows).PowerShell v5.1or later for the native Windows installation script.
- Recommended for full functionality (the scripts will attempt to install these):
ripgrep(for Telescope live grep)fd(alternative for Telescope)- Clipboard tools:
- Linux:
xcliporxsel(Xorg),wl-clipboard(Wayland) - macOS:
pbcopy/pbpaste(built-in) - Windows: Handled by Neovim/win32yank (often auto-installed or installable via
scoop install win32yank) - Termux:
termux-api(fortermux-clipboard-get/set)
- Linux:
pynvim(if you are a Python developer)
- For Windows Native Installation:
Scoop.shpackage manager. The script can help you install it.
- Important for UI:
- Nerd Fonts: Install a Nerd Font and set it as your terminal's font for proper icon display.
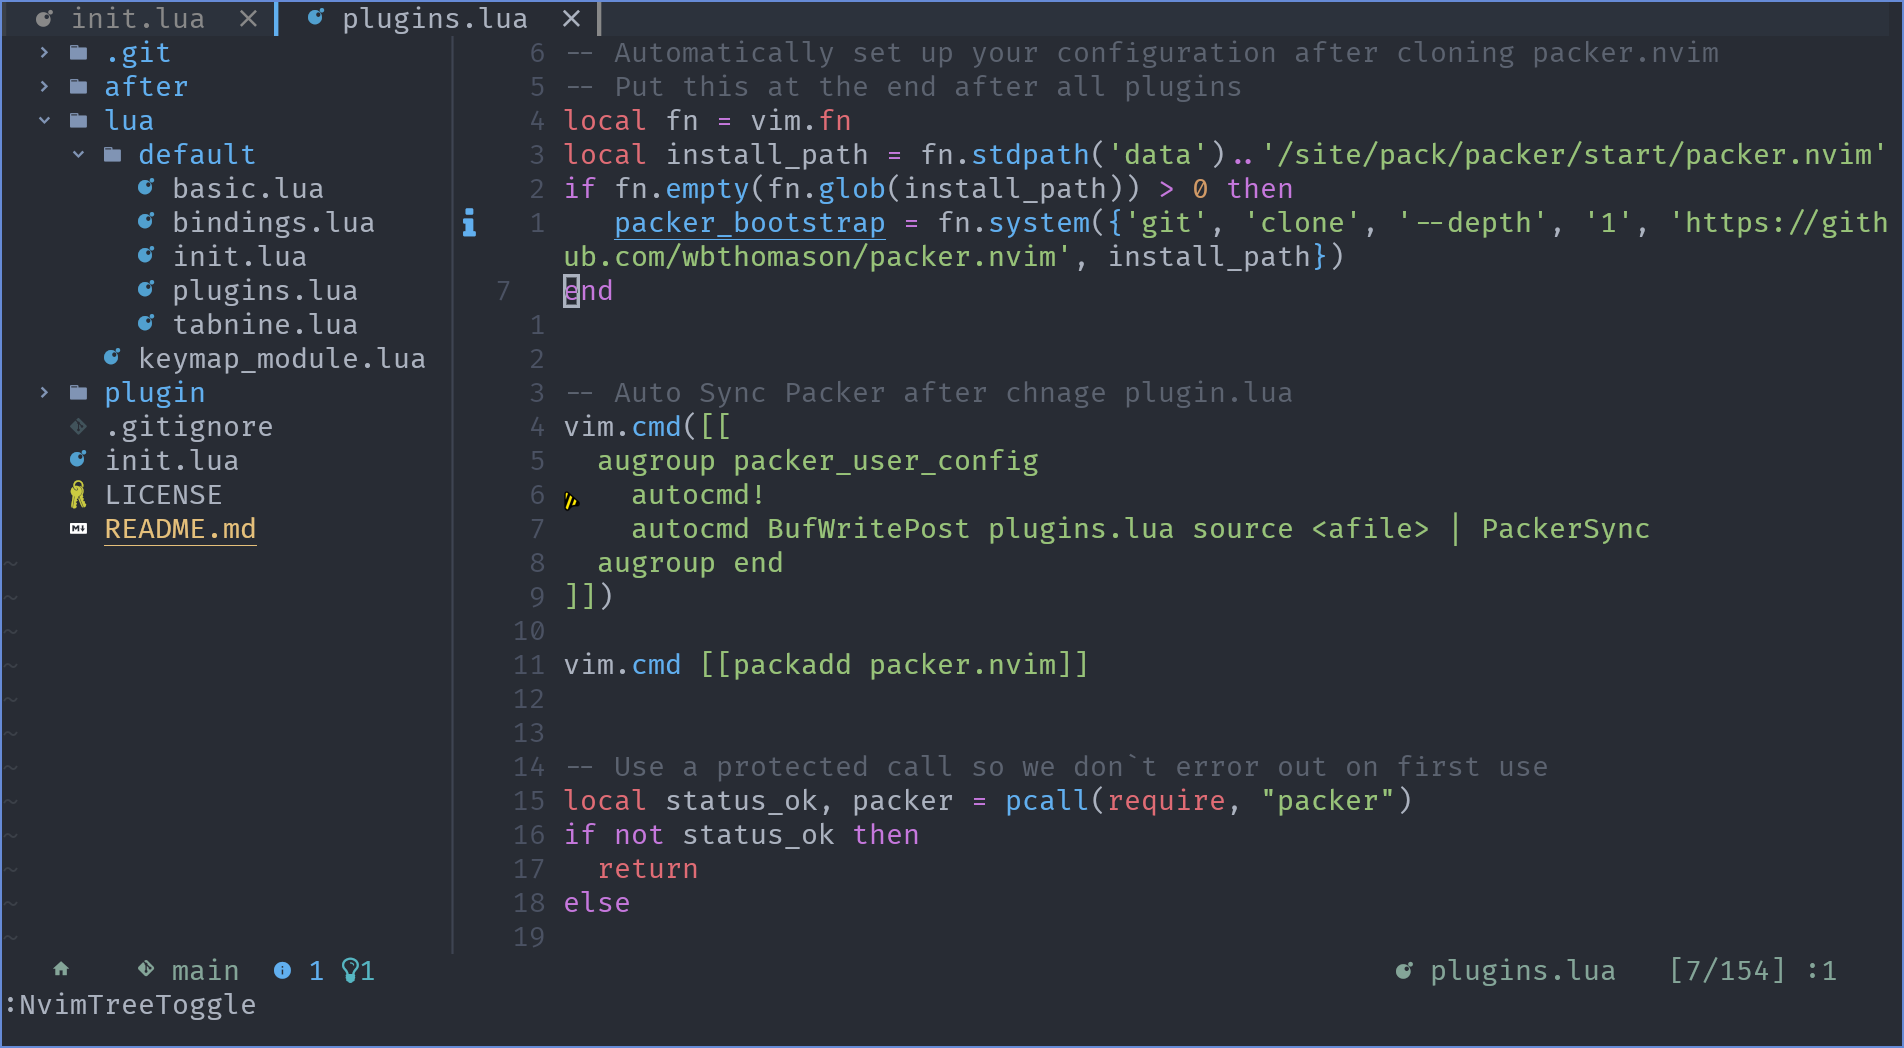
Screenshots 📷


Installation 💻
NvPak provides automated installation scripts for various operating systems.
Prerequisites
Before running the installation scripts, ensure you have:
- Internet connection: To download dependencies and the NvPak repository.
- Permissions: You might need administrative/sudo rights to install some packages.
Linux / macOS / Android (Termux) / Unix-like shells on Windows (Git Bash, WSL)
- Download the installer:
(Ifcurl -LO https://raw.githubusercontent.com/Pakrohk-DotFiles/NvPak/main/install.shcurlis not available, you can downloadinstall.shmanually from the repository.) - Make it executable:
chmod +x install.sh - Run the installer:
The script will attempt to detect your OS and package manager to install all necessary dependencies, clone/update NvPak to./install.sh~/.config/nvim(or$XDG_CONFIG_HOME/nvim), and guide you through the final steps.
Windows (Native PowerShell)
- Open PowerShell as Administrator. This is highly recommended to ensure Scoop and other dependencies can be installed or configured correctly.
- Set Execution Policy (if needed):
If you haven't run PowerShell scripts from the internet before, you might need to allow script execution for the current user:
Set-ExecutionPolicy RemoteSigned -Scope CurrentUser -Force - Download and run the installer:
The script will use Scoop to install dependencies (it will offer to install Scoop itself if not found), clone/update NvPak toInvoke-WebRequest -Uri "https://raw.githubusercontent.com/Pakrohk-DotFiles/NvPak/main/install.ps1" -OutFile "install.ps1" .\install.ps1~\AppData\Local\nvim, and prepare Neovim for first use. Note: If Scoop is installed for the first time by the script, you will be prompted to open a new PowerShell window and re-run.\install.ps1for the PATH changes (especially for Scoop itself) to take effect.
Post-Installation Steps
After the script finishes:
- Nerd Fonts: Crucial for UI icons. Ensure you have a Nerd Font installed and set as your terminal's font. The installation script will remind you, but the font configuration is manual.
- First Neovim Run: The installation script will attempt to run Neovim once (often headlessly) to finalize plugin installations via
rocks.nvim. You might see messages fromrocks.nvimabout installing plugins. Please wait for this process to complete. If you open Neovim manually for the first time, this process will also occur. - Restart Terminal (Recommended): After new tools are installed (especially by Scoop or system package managers), it's a good idea to restart your terminal or source your shell's configuration file (e.g.,
.bashrc,.zshrc) for all PATH changes to apply.
Usage 🚀
Once NvPak is installed:
- Open Neovim:
nvim - Plugin Management (with rocks.nvim):
NvPak uses rocks.nvim for plugin management, defined in the
rocks.tomlfile.- Plugins are automatically installed or updated by
rocks.nvimwhen Neovim starts if there are changes torocks.tomlor if new plugins are added. - The installation script already triggers this initial plugin setup.
- You generally don't need to manually sync plugins. However, if you modify
rocks.tomlor want to force a sync/update, you can use commands within Neovim::Rocks sync- Installs any missing plugins, updates plugins marked asscmor those with newer version constraints.:Rocks update [<plugin_name>]- Updates a specific plugin or all plugins to their latest allowed versions.:Rocks clean- Removes any installed plugins that are no longer listed inrocks.toml.:Rocks build [<plugin_name>]- To rebuild a specific plugin if needed.
- Refer to the
rocks.nvimdocumentation for more commands and details.
- Plugins are automatically installed or updated by
Enjoy your clean and powerful Neovim setup!
Contributing 🤝
If you're interested in contributing to the project, we welcome your help in fixing bugs and adding new features.
Here's how you can get started:
Check the Projects section to see if there are any open issues or features that you'd like to work on.
If you have an idea for a new feature or improvement, feel free to suggest it and discuss it with the NvPak team.
Fork the NvPak repository to your own GitHub account.
Make your changes and commit them to your forked repository. Please make sure to follow the project's coding standards and best practices, and write clear and concise commit messages.
Submit a pull request from your forked repository to the main NvPak repository.
Your changes will be reviewed by the NvPak team, who may provide feedback and request changes if necessary.
Once your changes are approved, they will be merged into the main NvPak repository and will be available to all users.
By contributing to NvPak, you'll be helping to improve the project for all users, and you'll have the opportunity to learn and collaborate with other developers.
Thank you for considering contributing to NvPak!
you can find the list of contributors on the contributors page.